Apples and Walnuts

This could just as easily be Apples and Pecans or Apples and Almonds — it does not matter which nut you use.  It’s so good!  You’re gonna make this over and over!!

Tart Granny Smith apples are the way the to go in this recipe.  They are the perfect consistency, taking on a “bready” texture when fully softened.  This can be a most fabulous thing if you are avoiding carbs/gluten/and other questionable ingredients.

So simple!  So completely perfect!

3-5 Granny Smith apples, washed, cored and rough chopped (I leave the skin on – you can peel them, especially if using non-organic apples)

photo 1 (32)

2 Tbsp coconut oil or butter (or combination of the two)

pinch of salt

1 teaspoon cinnamon

1/2 teaspoon cardamom

Into a medium skillet on medium-low heat, melt fat and toss in the apples.  Add spices and stir gently. photo 2 (30)
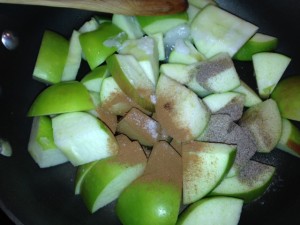
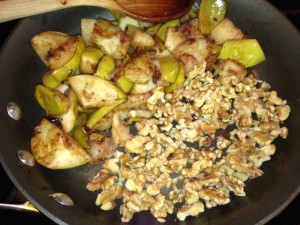
Let this go for 15-30 minutes, stirring every 5 minutes or so, depending on your preference of doneness.  The apples will break down and add their own moisture and the spices will be well incorporated at the end.  We are not looking for browning – if you are getting browning – add a little water (not much) and reduce the heat.  I like mine soft around the edges and a little al dente in the middle.  When you have reached your desired tenderness, move the apples to one side of the pan and add another tablespoon of butter.  Turn the heat up enough to get a little sizzle and add in 1 cup of chopped walnuts (or pecans or almonds).

photo 3 (23)

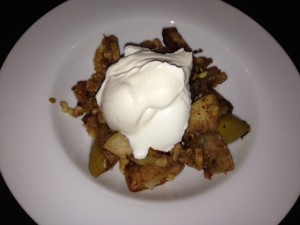
Let the nuts cook (stirring to get all sides) for a couple of minutes until they release their oils and you are done!  Gently incorporate the apples and nuts and scoop into bowls.  Top with Greek yogurt, if desired. photo 4 (18)
Standard

Pumpkin 101 and Creamy Pumpkin Soup

photo 1 (11)

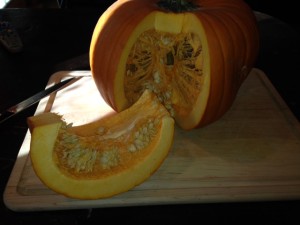
Gorgeous!  Besides that, pumpkins are full of beta carotene, fiber and tons of nutrients.  This one was used for decorating at the studio (and one awesome Halloween workout) where I teach Pilates.  You can buy special cooking pumpkins that are smaller and easier to manage.  However, I hate waste and I do love a challenge, so I now have several of these bad boys.  (Thanks, Weavermans!)  First, we must get it into manageable-sized chunks.  I took my sharpest kitchen knife and began slicing downward from the top.  photo 2 (11)

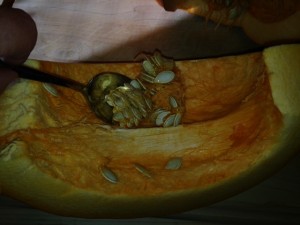
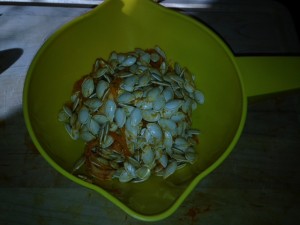
Continue doing this all the way around the pumpkin, then, make a short cut at the top below the stem to connect the long cuts and you will have pumpkin wedges.  photo 3 (6) Using a large spoon, scrape out the seeds and stringy fibers.  (Don’t throw them away – we need them later on for homemade granola!)  photo 5 (8)  photo 3 (8)

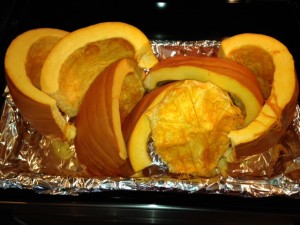
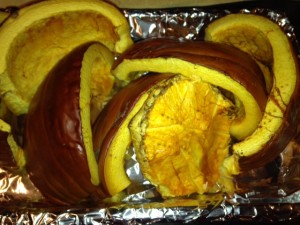
Once you have all the insides cleaned out, place your pumpkin wedges into a large roasting pan and place into a pre-heated 400 degree oven.  photo 2 (12) This will need to roast for about an hour.  When the flesh is tender enough to pierce easily with a fork, just turn the oven off.  Leave the door closed and let the pumpkin sit until it’s cool enough to work with – about another 45 minutes to an hour.  It will have browned in some place and softened considerably by this time.  photo 4 (6)

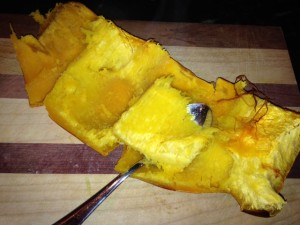
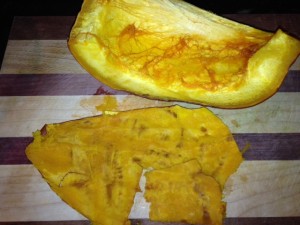
Take a wedge and use another large spoon to scoop as close to the skin as you can and remove the delicious pumpkin flesh.

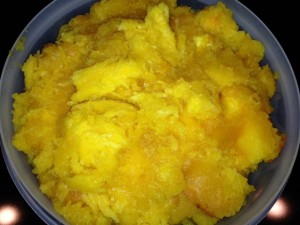
photo 1 (12)photo 2 (13) You can see there are still some connective fibers left over from the seed removal.  That’s alright.  Everything is tender and they won’t even be detectable.  With all sections scraped, you end up with a LOT of perfectly golden, tender pumpkin that beats the socks off canned for flavor and texture in any recipe you have for pumpkin.

photo 4 (7)

And, since we have already gone this far.  And, since you KNOW how much I adore soup.  Let’s just make some right quick.

Into a large stock pan, place 2-3 Tbsp. of fat.  (I am using chicken fat, but butter, coconut oil or a combo are just fine.)  Add 2 big pinches of turmeric to enhance the beautiful golden color and add in some fabulous anti-oxidants plus 1 tsp. salt and 1/4 tsp. pepper.

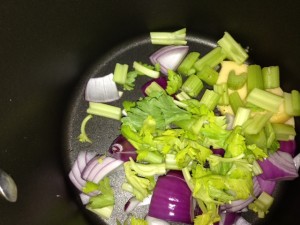
Now, the aromatics.  I used 1/2 red onion, roughly chopped and 4-5 sticks of celery, roughly chopped.  Add to pan on medium – high heat.

photo 2 (14)

I am making 10 servings (about 1 cup each) of soup.  If you wish to make less, or more, adjust accordingly.


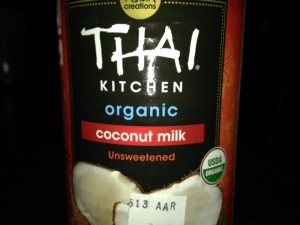
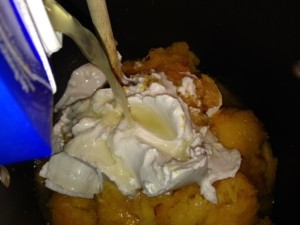
Once your aromatics are tender, add the pumpkin flesh (in my case, about 7-8 cups).   The pumpkin is already cooked, we just want this all to come together.  We need liquid and decadence:  organic coconut milk! photo 4 (8)photo 5 (9)

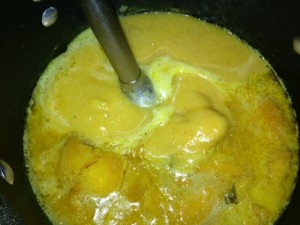
Perfect.  Put the whole can in there.  Then, 2-3 cups of chicken broth.   photo 1 (14)  The coconut milk will soften and add unbelievable creaminess and up the satiety factor by a zillion.  When everything has come up to a simmer, check and see if your consistency is about right.  Remove from heat and whip out your immersion blender.  Blend until perfect.  photo 5 (10)

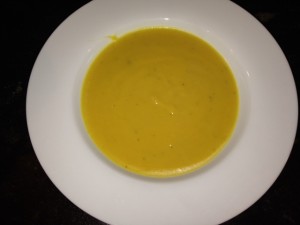
Taste for seasonings and adjust to your preference.  Serve and bask in the glory!  photo 1 (15)

Note:  This can easily be made vegan.  Use coconut oil for fat and vegetable broth or water for additional liquid.


Standard