Shredded Crockpot Chicken

I’m a little embarrassed to post this. It is SO EASY! But, it’s SO awesome and a staple in my kitchen, so…. here it is:

6-8 thawed boneless, skinless chicken breasts

1 tsp. Himalayan pink salt

1 tablespoon Red Rocks seasoning (Savory Spice Shop) or sub smoked paprika

1 tsp. cumin

1 tsp. ancho chili powder

Optional: 1-2 cloves minced garlic

1 medium onion, chopped

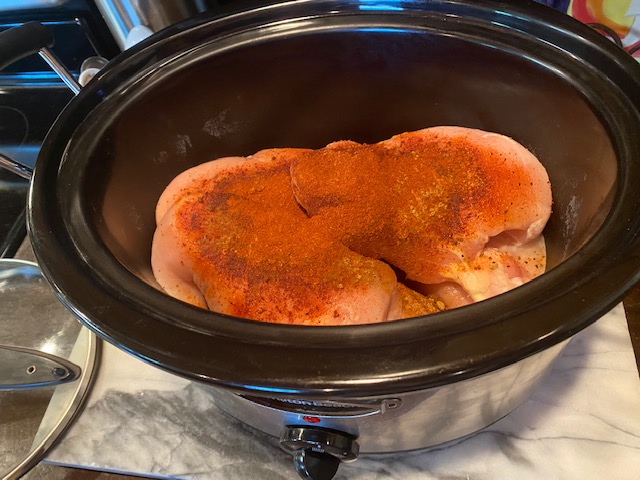
If using the optional aromatic veggies, place them into your slow cooker first. Then, layer the chicken breasts on top and season.

chicken breasts and spices

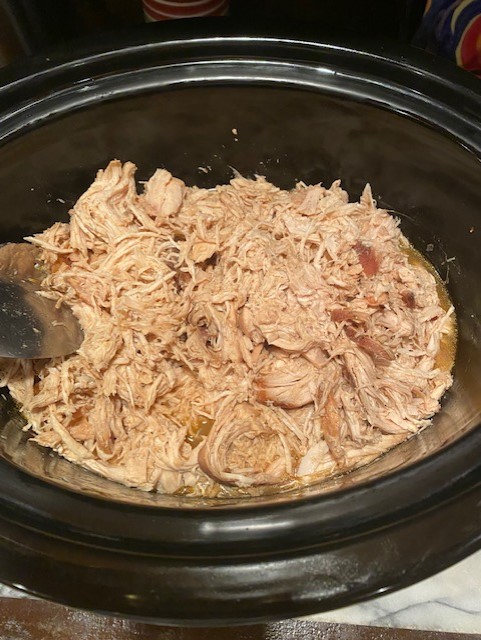
Then, turn it on and leave it alone! Really! Cook on high for 4-6 hours or low for 8-12 hours. My preference is to put it on in the evening and let it go overnight. Then, in the morning, shred and store. Use 2 forks and pull in opposing directions to shred. This will evenly distribute the spices, too.

Tender, shredded chicken.

This chicken is just perfect for chicken salad, enchiladas, chicken soup, nachos, burrito stuffings or a deconstructed “bowl” with black beans, guac’, rice and salsa. We use it for all kinds of things. Of course, you can use any seasoning you prefer but this one is a winner e’ry time!

Standard

Broiled Salmon Fillet

photo 2 (19)

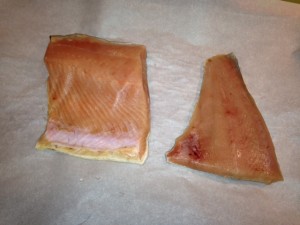
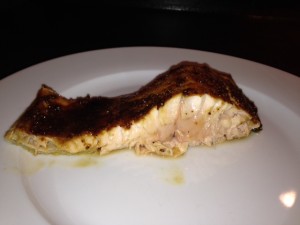
How have I not posted about salmon before?  It’s a definite favorite.  My Dad spent a summer working on a fishing boat in Alaska and we got hooked (sorry!) off his surplus of line-caught salmon.   The secret for perfectly cooked fish is having it completely thawed before it goes into the oven and not overcooking.  TIME in the heat is the process that develops the “fishiness factor” so, cook it fast and hot.  Pre-heat your oven to 400 degrees, lay the fillet on parchment paper (skin-side down) and prepare the glaze.

photo 3 (13)photo 1 (17)photo 2 (18)

In a small bowl mix:

1 Tbsp. spicy, whole-grain mustard

1 Tbsp. molasses

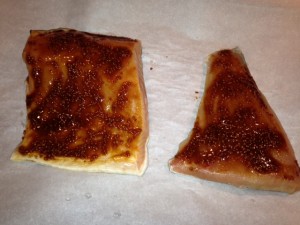
Stir together and smear over the top of the salmon.  Season with a nice sprinkling of salt and freshly ground pepper.photo 4 (10)

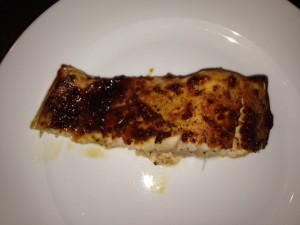
Place your pan into the oven on a middle rack and turn the broiler on.   Allow to broil for 5-7 minutes, depending on the thickness of the fillet.  Turn the pan around for even browning and watch closely.  You want color and sizzle but not blackening.  Ideally, there’s some degree of gradation toward the middle of the salmon but it takes a bit of finesse to pull this off.  It’s gonna be delicious, either way!    Oh, the tender flesh, the sweet from the molasses and the spiciness of the mustard!  Bliss, pure bliss.photo 5 (11)

This recipe is so simple and delightful I hope you will try it – even if you “think you don’t like fish”.photo 3 (14)

Standard

Saturday Eggs

photo (4)

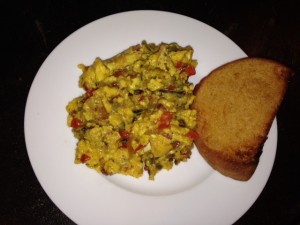
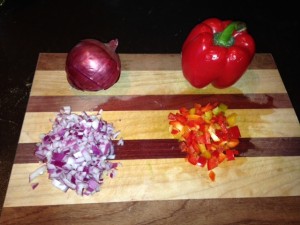
Oh, how I LOVE weekends!  We eat breakfast daily but, on weekends, it can be a little later, a little more relaxed and even a little tastier!  We call these Saturday eggs but they can be enjoyed on any day of the week.  Customize this to suit your families preferences – this is just a process.  If you want potatoes, add potatoes.  For more heat, use jalapenos.  Got some mushrooms that need to be used up?  Chop them and toss them in.  You get the idea.  You can expand this to feed a crowd.  For today, I am feeding 2, and we’ll have no trouble eating all this!  I just so happened to have red pepper,  purple onion and bacon on hand and that’s how these evolved.  photo 1 (7)

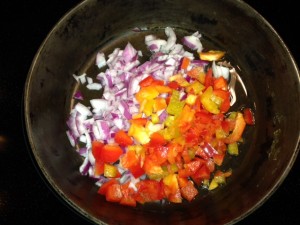
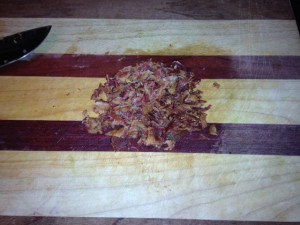
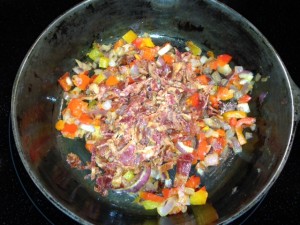
Heat your skillet to low-medium.  To the hot skillet, spoon in 1-2 Tbsp. bacon grease.  Then, add your chopped veggies.  photo 4 (3) I used about 1/3 cup of each.  Add a little salt and pepper and let them go, stirring occasionally.  Cook 10-15 minutes until the water is released from the veggies and they are soft – can’t have crunchy bites in your eggs, now can we?  The lower and slower these cook, the sweeter the onions and peppers will get.  When the veggies are “there” with maybe some browning to the edges, add your pre-cooked bacon* {see previous post BACON}.  Again, I used about 1/3 cup, chopped fine.  photo 1 (8)

Now, the eggs.  photo 2 (8) Add salt and pepper and whip them up! photo 3 (4)

photo 1 (9)photo 5 (5)

And, into the pan they go!photo 2 (9)

When the eggs are about half-set, add in a handful of grated cheese.  photo 4 (4)

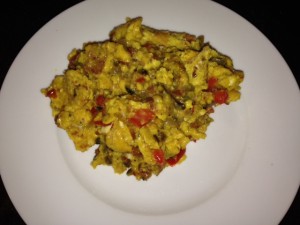
Continue cooking and stirring gently, bringing cooked parts up and letting egg liquid get to the heat at the bottom of the pan.  Remove from heat and serve!  photo 5 (6)

*Note:  If your bacon is raw, simply cook it in the same skillet at the start.  It will render the fat needed for the veggies.  Once the bacon is done, remove it from the pan.  Allow to cool and chop.  Return it to the same pan as described above.


Standard

Sauteed Kale and Eggs

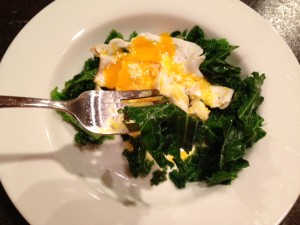
Meet my new favorite breakfast!photo 2 (5)
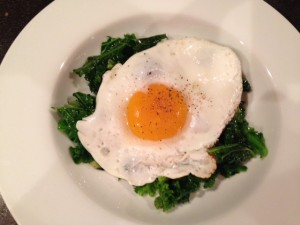
Kale and eggs – if you haven’t eaten greens for this most important meal of the day… Well, what are you waiting for?  They are freaking delicious.  The first time I had cooked greens for breakfast was in Jamaica – I found out it’s OK.  Other cultures *apparently* do this, so don’t be afraid of a little out-of-the-ordinary culinary excursion.

Besides being my favorite breakfast food, eggs are nutritional powerhouses.  Out-dated nutritional advice shuns eggs.  Jump into the new millennium and experiment with all the fabulous superfoods – starting with eggs!

Recipe:  with so few ingredients, it’s really important to not skimp on quality here!

eggs, 1-2 per person (free pastured, local eggs are best)

kale, 1 big handful per person (organic, pre-chopped in the bag is a major time-saver)
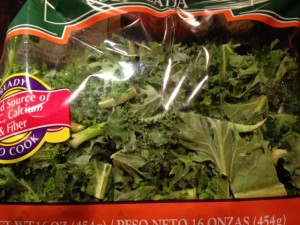
photo 3 (1)

fat, 1 tsp. (bacon grease, butter, coconut oil or a combo of these)

salt (Himalayan pink salt, sea salt)

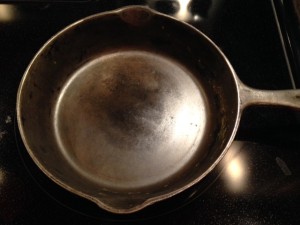
Heat a cast iron skillet on medium low for 5 minutes. photo 1 (6)
To the hot pan, add your choice of fat.  I use about 1 teaspoon bacon grease.  Add 1 big handful of chopped kale and salt.
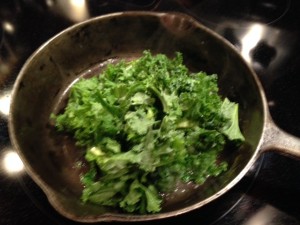
photo 2 (3)

It will spit and sputter from the moisture on the greens and that’s OK.  Saute the kale 2-3 minutes or until you get a deepening in color and they wilt reducing the volume by about half.  You may get some “cooked” spots on the kale, that is just fine, as well.  Remove the kale to serving plate.
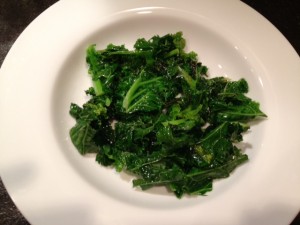
photo 4 (2)

If the greens have absorbed all the fat, add a bit more.  Gently crack 1-2 eggs into same skillet.  photo 5 (2)
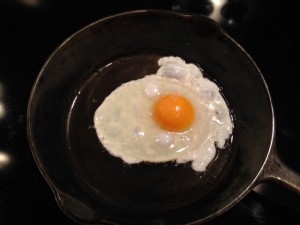
Don’t move ’em, don’t touch ’em at all!  Add salt (and pepper, if desired).   When cooked to your preference, gently slide a spatula under the eggs and place right on top of the kale.  Beautiful!  Delicious!  Nutritious!  Bon Appetit!
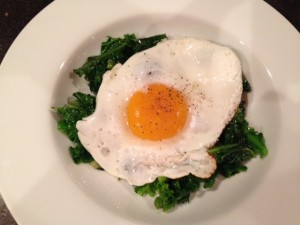
photo 2 (4)photo 3 (2)

That’s it!  How simple and way faster than driving through some scary clown establishment.  Feed yourself, feed your kids and enjoy!

A final word about salt:  If you don’t think you like greens, try adding some salt.  Go easy – it’s way easier to add than it is to take out.  Remember your greens will shrink by about half, so when you salt, salt for about half the amount you normally would.  Very often there is a bitterness associated with greens, like kale.  Salt will reduce the bitterness.  So, get high-quality, natural salt (not bleached and processed) and use it to enhance your greens!
Standard