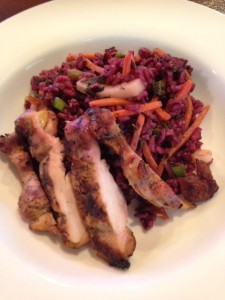
Citrus Grilled Chicken and Black Rice Bowl

IMG_1854 1


Citrus marinated chicken.  Anti-oxidant rich black rice. Crunchy veggies.  WINNING!  This is a super simple summer supper we will be enjoying again & again.

Start with the dressing.  Into a medium bowl add:

Zest and juice of 2 tangerines

Zest and juice of 1 lemon

3 tablespoons olive oil  (if you have lemon or blood orange olive oil, use it!)


1/2 tsp. Himalayan pink salt

1/2 tsp. freshly ground black pepper

Stir the ingredients to incorporate and add 3 Tbsp to:

1 lb boneless, skinless chicken thighs in a zip top bag or glass bowl to marinate 2-4 hours.  (And YES!  You can use boneless, skinless breasts – just make sure not to overcook as this cut will tend towards drying out – we just prefer the thighs, especially if you are planning for leftovers.)


So, now you have some time ~ about 2-4 hours.  You can prepare the salad to chill in the fridge.

1 cup carrots, cut into matchsticks

1/2 cup cucumber, cut into matchsticks

2 cups dark greens, chopped fine

1 bunch green onions, diced

1 handful fresh mint, chopped fine

About half an hour before the meal, preheat your grill and make the rice.  You can use *any* rice, but for extra nutrients the black rice (funny, because it looks dark purple) is rich in super plant compounds (trust me!)  Send your honey out to grill the chicken and get busy!

I love rice.  I love making rice.  I love eating rice.  Here’s how I do it:

Heat a medium saucepan and add 1-2 Tbsp. of fat.  (grass-fed butter, coconut oil, olive oil, you get the idea…)

Stir in 1 cup of black rice and let the fat coat each grain.  Stir and coat.  Let it go until you begin to see a little browning and smell a “toastiness” – yes, I made that word up – but, I don’t know a better one.  Just let the heat and fat bring a little love to the rice.   Don’t let it burn.  If it does, start over.  It will taste like scorched popcorn and that’s just tragic.  Have your cooking liquid ready!!  I used 2 cups of chicken broth but you may need to follow the directions on your particular rice.   Once you get the love on your rice, pour in the liquid (water, water and veggie broth, chicken broth/stock) and bring to boil.  Cover with a tight-fitting lid and reduce heat to simmer.  Mine was perfect in 18 minutes.

Remove the salad from the fridge and add in the cooked rice.  Add the reserved dressing.  Taste it for seasonings.  Perfect!!  Slice the chicken thighs and serve alongside your citrus creation.  Next time, I will top with sliced avocado and another drizzle of blood orange olive oil.

Standard

Gazpacho!

photo 2 (34)

It’s been hot, Hot, HOT!  Even so, this Gazpacho recipe is so good that I would eat it in the dead of winter.  Oh!  That’s a lovely thought!  Did I mention it’s also ridiculously easy?  Well, it is.  My 4 year old great niece helped me make this and loved the end result.  We think you will, too.  If you have a garden full of homegrown tomatoes, absolutely use those in place of the canned ones!  My garden is giving me some, but not enough – so we compromised.

Into a blender or food processor:

2 peeled cucumbers, chopped into chunks

1/2 red bell pepper, chunked

1/2 purple onion

2 scallions

1 Tbsp. parsley

2 Tbsp. cilantro (optional – you know if you like it!)

15.5 oz. can organic tomato sauce

5.5 oz. Spicy Hot V8 juice

1/4 cup good olive oil

2 Tbsp. balsamic vinegar

1 tsp. Worcestershire sauce

1/2 tsp. Himalayan or Celtic salt

1/4 tsp. freshly ground black pepper

Blend all ingredients together.  Taste for seasonings.  Serve with desired toppings of:

chopped avocado

minced parsley

minced cilantro

sour cream or kefir

chopped boiled egg

minced cucumber

drizzle of olive oil or balsamic vinegar

Go BIG on the accoutrements or go home!  The best dressed gazpacho is definitely the winner!

Standard

Chicken Salad

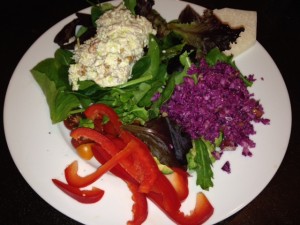
I LOVE chicken salad.  We eat it regularly in warmer weather as part of a bigger salad like this:

photo (14)  In cooler months, I will split sourdough rolls and top the same recipe with avocado slices and cheese, melting it under the broiler for chicken salad melts.  However we eat it, we never tire of this.  And, it is SO EASY to make with staples we keep on hand.  Try it – and you will LOVE it, too!

For chicken salad, you obviously need chicken.  You can use a ready-made rotisserie chicken (skin and bones removed).  You can slow cook one that you then skin, bone and shred.  I like to do this for special guests – and that’s my husband’s favorite version.  For ease, purchase the large canned white meat chicken at your local grocer or big box store.

12.5 oz can chicken, drained

3-4 stalks of celery, diced fine

1/3 medium red onion, diced fine

1 apple (Granny Smith, Pink Lady, Honeycrisp or other firm, crisp variety), diced fine

1 Tbsp. real mayo

1 Tbsp. good olive oil

1 tsp. fresh ground black pepper

zest and juice of 1 small lemon (optional, but really freshens up the flavor)

1 cup chopped pecans (or other nuts, if preferred)

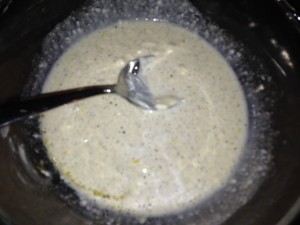
Into a medium mixing bowl, zest and juice lemon, add mayo, EVOO and black pepper.   Stir to combine.  photo 1 (33)

Add in finely chopped celery, onion and apple, (I chop mine in a salsa maker) mixing well.  photo 2 (31)

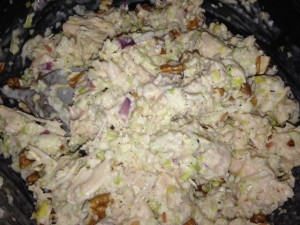
Flake in chicken and stir gently to combine.  Add pecans last, right before serving so they don’t lose their crunch.  photo 4 (20)

Crazy Good!


Standard

Apples and Walnuts

This could just as easily be Apples and Pecans or Apples and Almonds — it does not matter which nut you use.  It’s so good!  You’re gonna make this over and over!!

Tart Granny Smith apples are the way the to go in this recipe.  They are the perfect consistency, taking on a “bready” texture when fully softened.  This can be a most fabulous thing if you are avoiding carbs/gluten/and other questionable ingredients.

So simple!  So completely perfect!

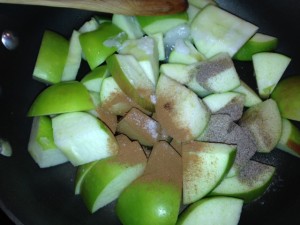
3-5 Granny Smith apples, washed, cored and rough chopped (I leave the skin on – you can peel them, especially if using non-organic apples)

photo 1 (32)

2 Tbsp coconut oil or butter (or combination of the two)

pinch of salt

1 teaspoon cinnamon

1/2 teaspoon cardamom

Into a medium skillet on medium-low heat, melt fat and toss in the apples.  Add spices and stir gently. photo 2 (30)

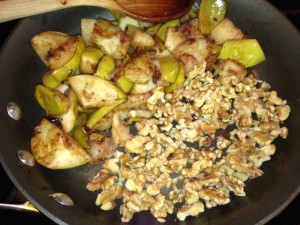
Let this go for 15-30 minutes, stirring every 5 minutes or so, depending on your preference of doneness.  The apples will break down and add their own moisture and the spices will be well incorporated at the end.  We are not looking for browning – if you are getting browning – add a little water (not much) and reduce the heat.  I like mine soft around the edges and a little al dente in the middle.  When you have reached your desired tenderness, move the apples to one side of the pan and add another tablespoon of butter.  Turn the heat up enough to get a little sizzle and add in 1 cup of chopped walnuts (or pecans or almonds).

photo 3 (23)

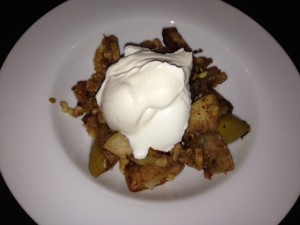
Let the nuts cook (stirring to get all sides) for a couple of minutes until they release their oils and you are done!  Gently incorporate the apples and nuts and scoop into bowls.  Top with Greek yogurt, if desired. photo 4 (18)

Standard

Salmon Patties on Pink Lentils

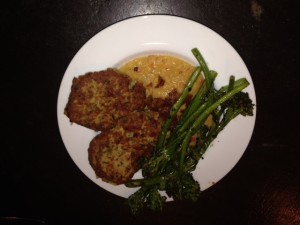
…with a garnish of bacon and a side of oven-roasted broccolini.  Oh, my!  What are we celebrating??

photo (12)

LIFE!  And, protein!  Sometimes an ordinary day can be made special with a special meal.  This looks swanky, but is simple to make and surprisingly inexpensive.  Let’s get the lentils going and then start the salmon patties, er… “croquettes” if you want to sound fancy.

1 cup of pink lentils – sorted, debris removed – get them ready and set aside

1/2 cup chopped red onion

1/2 cup chopped sweet red pepper

Into a medium saucepan over medium heat, place the onion and red pepper.  Drizzle enough olive oil onto the veggies so they don’t stick and cook for 3-4 minutes.  Once the veggies are soft, add the pink lentils and 2 cups of chicken broth.  You may need more liquid later, but wait and see.  We want a nice, thick base for the salmon patties so the lentils do not need to be wet and soupy.  When the lentils come to a boil, reduce heat to simmer and place a lid on the pan.  Keep an eye on them, but let them go a little longer than usual – about 25 minutes.   Make sure you have enough liquid so the lentils don’t stick to the bottom.  Add either water or chicken broth, as needed, up to 1 more cup total.

For the salmon patties:

1 can salmon (15 oz), drained but not squeezed – just pour off extra liquid

1 Tbsp. spicy whole-grain mustard

3 Tbsp. minced onion

3 Tbsp. chopped fresh parsley

zest of one lemon

freshly ground black pepper

1 tsp. Old Bay seasoning

3-4 Tbsp. flour or finely ground oats – this will be more or less, depending on how much moisture is in mixture

2 eggs

Put everything except eggs into a bowl and mix together.  Add eggs and stir gently.  It should be moist and workable.  If it seems too wet, add some additional flour.  This is the most important part of making the patties.  If they are too wet, they will spread and break apart.  If they are too dry, they won’t adhere.  Once you get the salmon mixture *right*, heat a skillet to medium low.  You will need some fat (butter, olive oil, bacon drippings, coconut oil, whatEV)  Add enough fat to coat the bottom of the pan.  Using your hands and a spoon, scoop out and shape each patty, gently laying it in the hot oil.  Leave space between each, cooking 3 at a time to total 6 patties in two batches.
Hopefully, your lentils have softened up nicely in the meantime.  If they are too wet, take the lid off and let the extra liquid bubble off.  Stir and break them up to form a nice very-thick-soup-like consistency.

To serve:  spoon out about a half cup of pink lentils into a bowl.  Place 1-2 salmon patties artistically on one side.  Crumble 2 slices of  extra-crisp bacon in a small bowl and sprinkle on top.  (See: BACON post)  Place oven-roasted broccolini on the side (See:  Oven Roasted Veggies post) and you are there.


Standard

Granola

Granola is a tricky one – oh, not the recipe.  That’s just easy.  Tricky is buying granola and thinking you are getting a good, “healthy” option.   If you make it yourself, you can use quality fats, good seed & nut options and just-the-perfect-amount-of sweetness and KNOW you are getting a good, healthy option.

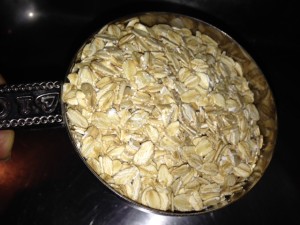
Start with good oats.  I LOVE Bob’s Red Mill.  I love the company.  I love the man who gave the company back to his employees for his 81st birthday.  And, they are just the best oats I have ever had.  My preference is the thick rolled oats, but the regular rolled oats are fine, as well.

4 cups thick rolled oatsphoto 1 (24)

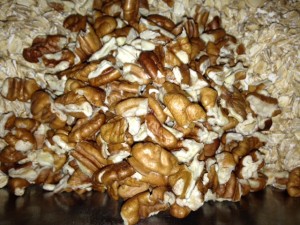
1 cup pecans, choppedphoto 4 (15)

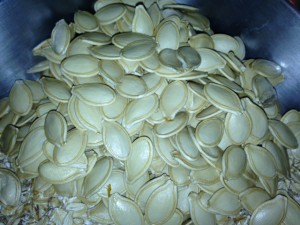
1 cup (or more) pumpkin seedsphoto 3 (18)

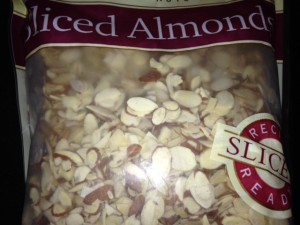
1 cup sliced almondsphoto 5 (15)

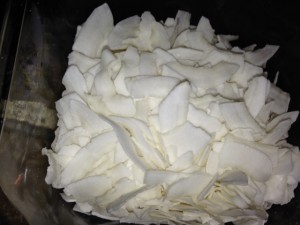
1 cup coconut chips photo 1 (25)

Place all the dry ingredients into a large baking pan.  Stir them up!

We need some wet ingredients:

1/2 cup coconut oil

1/3 cup pure maple syrup (or more, to taste)

1 tsp. molasses

1 cup very hot water

Stir until the coconut oil and maple syrup melt and combine.

To this, add:

1 tsp. cinnamon.

1/2 tsp. cardamom

and just a pinch of pink Himalayan salt

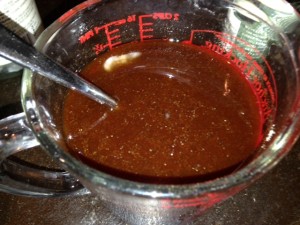
Stir it all up and you will have a dark oh-so-heavenly liquid. photo 1 (27)

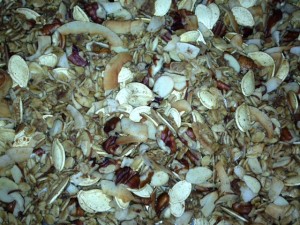
Pour this into your dry granola mixture and make sure everybody gets their fair share.  Stir and stir and stir.  Now, you must taste it.   It’s the only way to test for seasonings.  Remember you will add some sweetness with dried fruit after baking, but now is the time to tweak.  I like a mildly sweet granola, so if you need more, add it now!

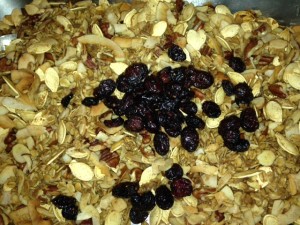
Pre-heat your oven to 250 degrees and slide it in there for about 45 minutes.    Stir.  Continue cooking low and slow, stirring about every 15 minutes for another 45 minutes or until the granola is browned and dry.  As it gets closer to done, you may want to reduce your time between stir/checks to 5 minutes.  It will get perfect FAST.   One of my saddest days (in the kitchen) was getting impatient and turning on the broiler to speed up the browning process.  We couldn’t save it.  Burned granola… what a waste!  You will be rewarded for your patience!  Ah!  photo 2 (26) Now, if you are adding dried fruit, stir it in.  I used dried cranberries, about 1/2 cup.  You can really add any dried fruit, in any amount.  Mix it in, go crazy!  photo 3 (20)

Once your granola is completely cooled, store it in airtight containers.  Give some away, freeze extra.  You’ll be so glad you did!

photo 5 (16)

NOTE:  You can use any nut, seed or dried fruit.  If you like a nuttier granola – add more nuts.  Prefer a more oat-filled granola?   Up the rolled oats.  I usually add a little fresh grated nutmeg and it’s lovely in this recipe.  Follow your own likes and use what you have on hand.  I have 4 pecan trees so I always have pecans, but you can use walnuts or whatever you prefer!  It’s going to be granola-licious!


Standard

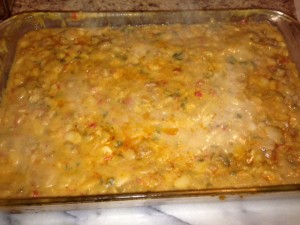
Baby Lima Bean and Chorizo Casserole

photo 1 (23)

ok – I’ll admit this one seems a bit weird.  It came about years ago and has evolved into its current and *most delicious* incarnation.  I think of this as a spicy white-bean-dip-you-can-eat-for-supper.  And, it’s pretty perfect for these really cold nights.  We will get back to salads and lighter fare once the weather warms up past freezing!

To begin, sort and rinse 1lb of baby lima beans.  Soak for 6 hours (or overnight). photo (10)

Drain.  Place beans into a sauce pan and cover with water.  Bring to boil, reduce to simmer and allow to cook until tender, about 2 hours.  You can cook the beans a day or two before you put this together, if you prefer.  Once the beans are tender, add 1tsp. Celtic or Himalayan pink salt.  Please use good salt – that white, bleached stuff has been stripped of micronutrients and is nothing but trouble!

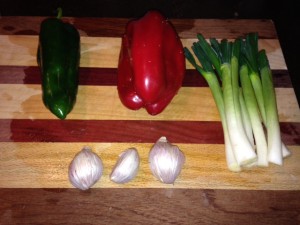
When you are ready to assemble, sauté your veggies.  I used: photo 1 (22)

1 Poblano pepper, chopped

1 bunch green onions, chopped

1 sweet red pepper, chopped

3-4 cloves garlic, mincedphoto 2 (24)

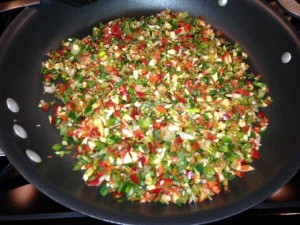
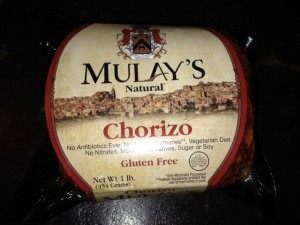
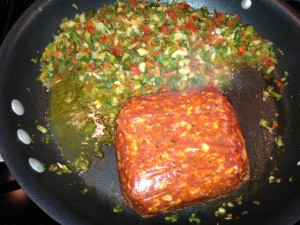
Place the chopped aromatics into a large skillet on medium heat.  Add 1 Tbsp of fat (going with the pork theme, I used bacon drippings).  Cook til tender, about 5-7 minutes.  Slide the veggies to one side of the pan and add 1lb chorizo.   photo 3 (17)

Brown and break up the chorizo, mixing with veggies as you go. photo 4 (14)

By now, the baby lima beans are tender and mushable.  I like them to be about the texture of refried beans.  One thing that’s helpful is to cook them in just enough water to do the job – then, you don’t have to drain and the starchy liquid left in the beans helps to pull it all together. It’s going to work, either way!

Once the meat is done (no pink remaining), add the baby lima beans to the skillet.  If your beans are wet and soupy, drain them first.  Be sure to reserve some of the starchy cooking liquid in case you need to add a little liquid back.

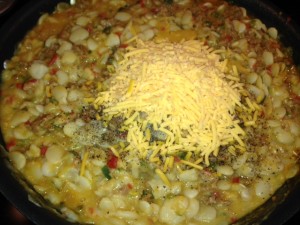
Pre-heat the oven to 375 degrees.  Dig out your favorite casserole pan (9×13 or a round one deep enough to hold everything).  Add the cooked beans to the skillet and stir well.  Taste it and correct any seasoning issues.  Now, carefully pour the chorizo/bean/veggie mixture into the casserole pan, adding in a handful of grated cheddar cheese.  photo 5 (14)

If it seems too wet, bake uncovered.  If you feel like the moisture level is right, cover with foil.
Bake for 30 minutes or until it’s all bubbly and the eaters start to assemble.  Serve with a big chopped salad and lots of fresh toppings and tortilla chips for scooping.  We had:

diced avocado

finely diced red pepper

finely chopped red onion

sour cream

and I WISH I’d had some cilantro – would’ve been even better!

Seriously GOOD eating.

Standard

Spinach Salad

photo (9)

Often, in this life, it’s all about the simple things.  Spinach salad is one of those lovely, simple things.  There are a zillion different versions out there, but this basic one can get you started.

2 cups washed baby spinach

8-10 bite-sized mozzarella balls

2 Tbsp. pomegranate arils

drizzle of olive oil

drizzle of balsamic vinegar

salt & pepper to taste

I found these in the grocery store and was thrilled to find arils without the work!  Try them.  You can eat the whole thing AND they’re completely delicious.

pom arils

Yes… we eat salads, too!

Standard

Pumpkin 101 and Creamy Pumpkin Soup

photo 1 (11)

Gorgeous!  Besides that, pumpkins are full of beta carotene, fiber and tons of nutrients.  This one was used for decorating at the studio (and one awesome Halloween workout) where I teach Pilates.  You can buy special cooking pumpkins that are smaller and easier to manage.  However, I hate waste and I do love a challenge, so I now have several of these bad boys.  (Thanks, Weavermans!)  First, we must get it into manageable-sized chunks.  I took my sharpest kitchen knife and began slicing downward from the top.  photo 2 (11)

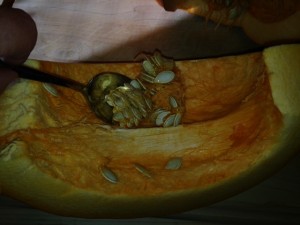
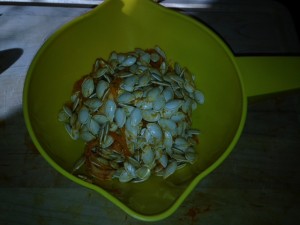
Continue doing this all the way around the pumpkin, then, make a short cut at the top below the stem to connect the long cuts and you will have pumpkin wedges.  photo 3 (6) Using a large spoon, scrape out the seeds and stringy fibers.  (Don’t throw them away – we need them later on for homemade granola!)  photo 5 (8)  photo 3 (8)

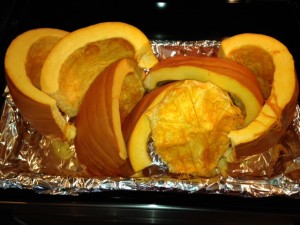
Once you have all the insides cleaned out, place your pumpkin wedges into a large roasting pan and place into a pre-heated 400 degree oven.  photo 2 (12) This will need to roast for about an hour.  When the flesh is tender enough to pierce easily with a fork, just turn the oven off.  Leave the door closed and let the pumpkin sit until it’s cool enough to work with – about another 45 minutes to an hour.  It will have browned in some place and softened considerably by this time.  photo 4 (6)

Take a wedge and use another large spoon to scoop as close to the skin as you can and remove the delicious pumpkin flesh.

photo 1 (12)photo 2 (13) You can see there are still some connective fibers left over from the seed removal.  That’s alright.  Everything is tender and they won’t even be detectable.  With all sections scraped, you end up with a LOT of perfectly golden, tender pumpkin that beats the socks off canned for flavor and texture in any recipe you have for pumpkin.
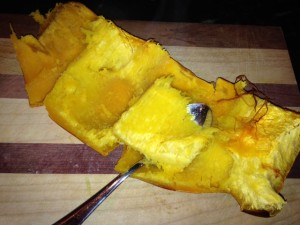
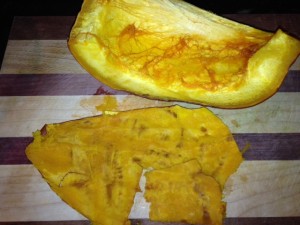
photo 4 (7)

And, since we have already gone this far.  And, since you KNOW how much I adore soup.  Let’s just make some right quick.

Into a large stock pan, place 2-3 Tbsp. of fat.  (I am using chicken fat, but butter, coconut oil or a combo are just fine.)  Add 2 big pinches of turmeric to enhance the beautiful golden color and add in some fabulous anti-oxidants plus 1 tsp. salt and 1/4 tsp. pepper.

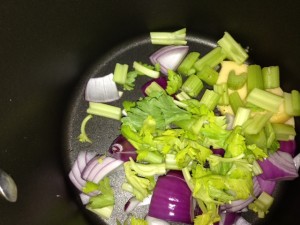
Now, the aromatics.  I used 1/2 red onion, roughly chopped and 4-5 sticks of celery, roughly chopped.  Add to pan on medium – high heat.

photo 2 (14)

I am making 10 servings (about 1 cup each) of soup.  If you wish to make less, or more, adjust accordingly.


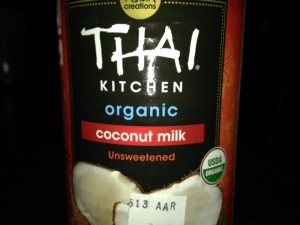
Once your aromatics are tender, add the pumpkin flesh (in my case, about 7-8 cups).   The pumpkin is already cooked, we just want this all to come together.  We need liquid and decadence:  organic coconut milk! photo 4 (8)photo 5 (9)

Perfect.  Put the whole can in there.  Then, 2-3 cups of chicken broth.   photo 1 (14)  The coconut milk will soften and add unbelievable creaminess and up the satiety factor by a zillion.  When everything has come up to a simmer, check and see if your consistency is about right.  Remove from heat and whip out your immersion blender.  Blend until perfect.  photo 5 (10)

Taste for seasonings and adjust to your preference.  Serve and bask in the glory!  photo 1 (15)

Note:  This can easily be made vegan.  Use coconut oil for fat and vegetable broth or water for additional liquid.


Standard

Slow Cooker Anasazi Bean and Veggie Soup

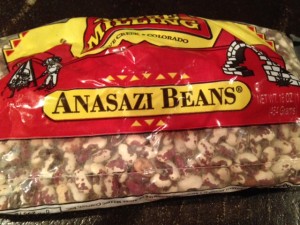
Ok – it doesn’t *have* to be Anasazi beans, any bean will do.  But, my Mom loves these beans and she gave me some while my family was visiting over the holidays.   Anasazi beans are kissing cousins to pinto beans and the recipe will work in a straight substitution.  The Anasazi beans are a little sweeter and cook a little faster than pintos. If you use a different size/variety/density bean (or even peas!) just follow the cooking directions on the package.

Here’s mine:  photo 1 (2)

Sort and wash 1lb. of Anasazi beans, removing any weird, stray bits or rocks (if you skip this step, don’t come whining to me when you get the debris!).

Some folks soak, some folks don’t.  I go either way, depending on time and energy before serving.  These, I soaked in cold water for a couple of hours.  Drain off the soaking water, then into the slow cooker they go.  Add cold, filtered water to cover and nothing else!  I mean it, NOTHING ELSE.  Here’s my very best bean-cooking tip:  Cook your beans in water only!  Seriously, if you go adding salt (this includes salty ham bone or stock) it will inhibit the tenderization of the beans.  Save your fat, salt, veggies and especially tomato products til the beans are as tender as you wish.  Then, we party!

Turn the slow cooker on high and go to work, take a nap or wash the dog.  (If you prefer to cook beans overnight, and I often do, skip the soak.  Don’t skip the sort!   Throw the rinsed beans in the slow cooker, cover with water {use about 2 times the volume of beans}, turn on low and go to bed.  In the morning, you will have tender beans just begging for some salt, veggies and whatever general loveliness you can dream up.)   OK, back to tonight’s meal:  check the beans for desired tenderness in 4-6 hours.  In my life, this works out to my lunch break.  They were perfectly tender and I added:

1/2 chopped onion

1 chopped red pepper

1 chopped Anaheim pepper

4 cloves garlic, minced

1 stick celery, chopped

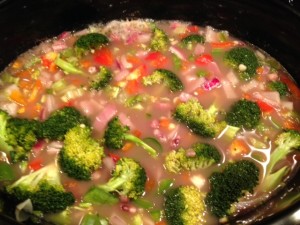
and, 1 head of broccoli*, chopped (only because I needed to use it up – you can use virtually ANY veggie here – clean out your fridge, use what makes you happy!)

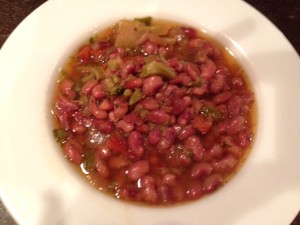
Here’s what we have:  photo 2 (2)

To this, I added a ham bone (also from Christmas) and turned the setting to low for the afternoon.  If you are not adding a salt factor like a ham bone, you will need to add salt here.  Start with a teaspoon and go from there, adjusting to your preference.  When we walk in the door from a long day, it will be lovely, hearty and full of fiber.  The bits of ham will fall off the bone and *BONUS* morph this soup into something wonderful.   The best part of this meal is the add-ins.  I dice fresh onion and avocado as toppers.  My husband will spoon in a bit of sour cream – oh, if only I had some flat-leaf parsley!  Either way, you won’t go wrong.  This bean and veggie soup will do just fine on its own or, if you are wanting to show off a little – bake a pan of corn bread and dine like Royalty!

*Rookie mistake:  if I had been thinking when I chopped my veggies, I would have saved the broccoli, chopped it small and added it right before serving.  The heat from the simmering soup would turn it bright green, slightly crunchy and perfect.   Next time…

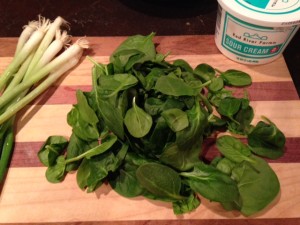
P.S.  So, I didn’t have parsley, but I DID have spinach!  photo 4 (1)

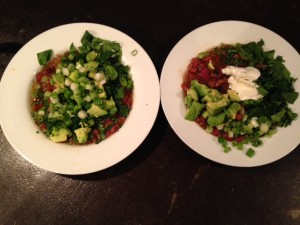
When things cook all day, I think it’s really important to have something fresh to add in right at the end.  So, here’s how I served the Anasazi bean and veggie soup:  photo 5 (1)  photo 1 (4)

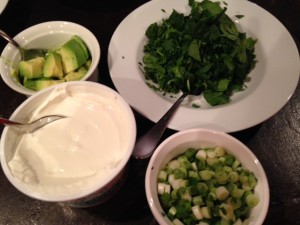
We had minced spinach (organic, please), green onions (also, organic), diced avocado and sour cream to customize to individual preference.  It was really good!

photo 1 (5)

Standard