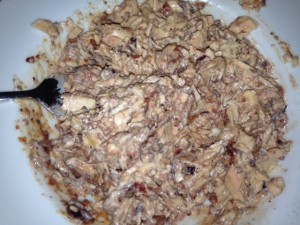
Shredded Crockpot Chicken

I’m a little embarrassed to post this. It is SO EASY! But, it’s SO awesome and a staple in my kitchen, so…. here it is:

6-8 thawed boneless, skinless chicken breasts

1 tsp. Himalayan pink salt

1 tablespoon Red Rocks seasoning (Savory Spice Shop) or sub smoked paprika

1 tsp. cumin

1 tsp. ancho chili powder

Optional: 1-2 cloves minced garlic

1 medium onion, chopped

If using the optional aromatic veggies, place them into your slow cooker first. Then, layer the chicken breasts on top and season.
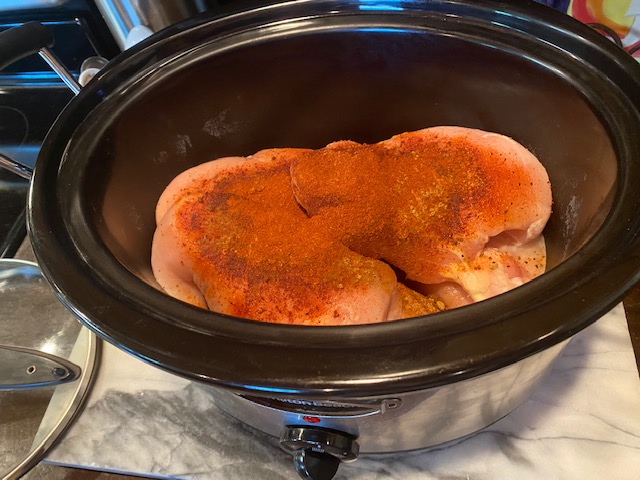
chicken breasts and spices

Then, turn it on and leave it alone! Really! Cook on high for 4-6 hours or low for 8-12 hours. My preference is to put it on in the evening and let it go overnight. Then, in the morning, shred and store. Use 2 forks and pull in opposing directions to shred. This will evenly distribute the spices, too.
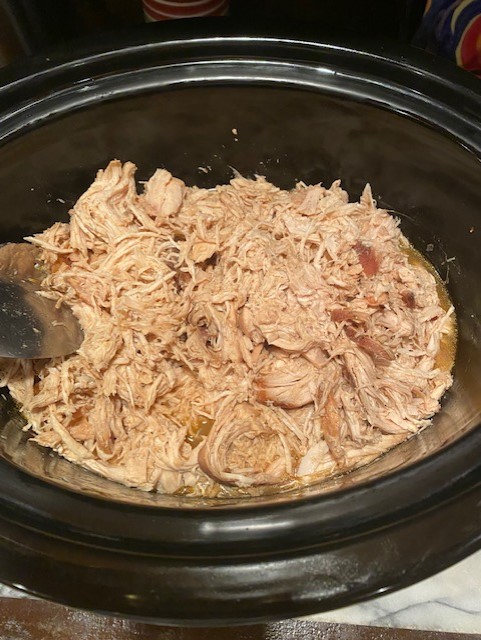
Tender, shredded chicken.

This chicken is just perfect for chicken salad, enchiladas, chicken soup, nachos, burrito stuffings or a deconstructed “bowl” with black beans, guac’, rice and salsa. We use it for all kinds of things. Of course, you can use any seasoning you prefer but this one is a winner e’ry time!

Standard

Gazpacho!

photo 2 (34)

It’s been hot, Hot, HOT!  Even so, this Gazpacho recipe is so good that I would eat it in the dead of winter.  Oh!  That’s a lovely thought!  Did I mention it’s also ridiculously easy?  Well, it is.  My 4 year old great niece helped me make this and loved the end result.  We think you will, too.  If you have a garden full of homegrown tomatoes, absolutely use those in place of the canned ones!  My garden is giving me some, but not enough – so we compromised.

Into a blender or food processor:

2 peeled cucumbers, chopped into chunks

1/2 red bell pepper, chunked

1/2 purple onion

2 scallions

1 Tbsp. parsley

2 Tbsp. cilantro (optional – you know if you like it!)

15.5 oz. can organic tomato sauce

5.5 oz. Spicy Hot V8 juice

1/4 cup good olive oil

2 Tbsp. balsamic vinegar

1 tsp. Worcestershire sauce

1/2 tsp. Himalayan or Celtic salt

1/4 tsp. freshly ground black pepper

Blend all ingredients together.  Taste for seasonings.  Serve with desired toppings of:

chopped avocado

minced parsley

minced cilantro

sour cream or kefir

chopped boiled egg

minced cucumber

drizzle of olive oil or balsamic vinegar

Go BIG on the accoutrements or go home!  The best dressed gazpacho is definitely the winner!

Standard

Asparagus Frittata

photo 3 (26)

Oh Man!  I love a good frittata!  Some sweet friends showed up with a lovely batch of asparagus fresh from their family garden and I knew immediately what would be happening.  A frittata!  Thank you, Brian & Karen!

Although it sounds fancy, a frittata is just a baked omelet.  Your frittata will only be as good as your eggs, so choose wisely.  Connect with sources at your local farmers market or by asking around – you will be surprised how easy it is to find free pastured, local and sustainable eggs – and they have the most gorgeous orange yolks to boot!

To create:

1 medium onion, chopped

1 bunch asparagus (12-15 medium stalks or 20+ pencil stalks), chopped in 1 inch pieces

1 Tbsp bacon fat (or other natural fat like butter or coconut oil)

3-4 sliced bacon, crispy cooked, chopped fine

10-12 eggs, beaten

1/2 – 1 cup finely shredded Colby jack cheese

good salt and fresh ground black pepper

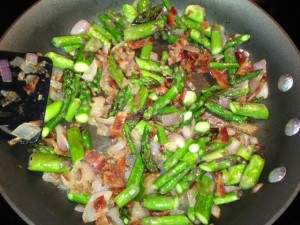
Place an ovenproof skillet on medium low heat and add 1 Tbsp. bacon fat.  When it’s loose enough to coat the pan, add chopped onion.  Cook until soft and translucent.  Add asparagus and enough salt and fresh ground black pepper for the veggies in the pan.   Cook and stir until the asparagus turns bright green.  Add the bacon pieces and reduce heat to low.  photo 1 (35)

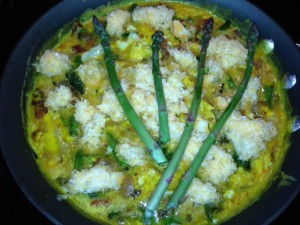
Preheat oven to 350 degrees.  While veggies have been softening, crack eggs into mixing bowl.  Add 1 tsp. Himalayan or Celtic salt and 1/2 tsp. freshly ground black pepper and whisk into eggs.  Pour eggs into pan.  Gently cook eggs until about half-set.  Add desired amount of grated cheese and top with whole asparagus, if desired.  photo 2 (33)

Place pan into oven and watch closely.  Once the eggs are almost set (maybe 3-5 minutes) switch the broiler on.  Broil until lightly brown.  Remove immediately.  Allow to set for at least 5 minutes before slicing into pie shaped wedges.  Give Thanks for Good Friends who share and ENJOY!


Standard

Roast Beef and Provolone Hoagie

photo (15)

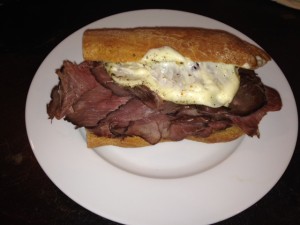
Yeah, I know.   I’ve been posting salads and lots of salmon recipes, but *sometimes*, you just need a hoagie.  This one is a doozy.  And, this one is NOT MINE.  It’s my honey’s ~ and, yes, it covers the entire plate.  I don’t recommend eating these every week… but, C’mon, it’s delicious.  Once in a while, it’s OK.  I won’t tell!

Your hoagie is only as good as the bread you put it on.  I used my homemade sourdough.  If you don’t bake, at least visit the bakery section of your grocery store and get a nice, artisan baguette.

You’ll need:

1 baguette

3/4 lb. thin sliced good roast beef (like Boar’s Head)

4 slices provolone cheese

extra thin sliced red onion

oregano

crushed red pepper

Slice the baguette in half, creating top and bottom crusts. photo 1 (34)

Slice again, from top to bottom in desired sizes for hoagies.  Open it up and place on a baking sheet.

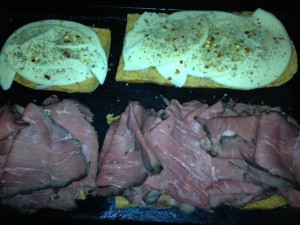
photo 2 (32) Add thinly sliced onions to one half and roast beef to other half, proportionate to bread.

photo 4 (21) Top the onions with provolone and sprinkle on oregano and crushed red pepper, to taste.

Broil in oven til melty and slightly browned.  photo 5 (19)

You can thank me later!


Standard

Chicken Salad

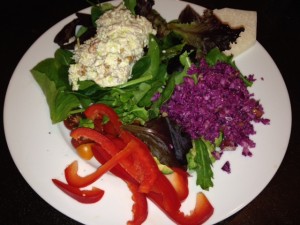
I LOVE chicken salad.  We eat it regularly in warmer weather as part of a bigger salad like this:

photo (14)  In cooler months, I will split sourdough rolls and top the same recipe with avocado slices and cheese, melting it under the broiler for chicken salad melts.  However we eat it, we never tire of this.  And, it is SO EASY to make with staples we keep on hand.  Try it – and you will LOVE it, too!

For chicken salad, you obviously need chicken.  You can use a ready-made rotisserie chicken (skin and bones removed).  You can slow cook one that you then skin, bone and shred.  I like to do this for special guests – and that’s my husband’s favorite version.  For ease, purchase the large canned white meat chicken at your local grocer or big box store.

12.5 oz can chicken, drained

3-4 stalks of celery, diced fine

1/3 medium red onion, diced fine

1 apple (Granny Smith, Pink Lady, Honeycrisp or other firm, crisp variety), diced fine

1 Tbsp. real mayo

1 Tbsp. good olive oil

1 tsp. fresh ground black pepper

zest and juice of 1 small lemon (optional, but really freshens up the flavor)

1 cup chopped pecans (or other nuts, if preferred)

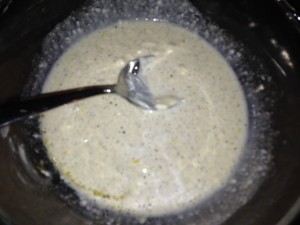
Into a medium mixing bowl, zest and juice lemon, add mayo, EVOO and black pepper.   Stir to combine.  photo 1 (33)

Add in finely chopped celery, onion and apple, (I chop mine in a salsa maker) mixing well.  photo 2 (31)

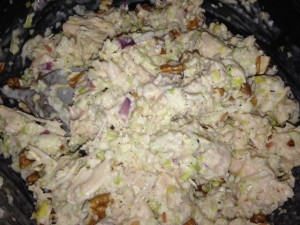
Flake in chicken and stir gently to combine.  Add pecans last, right before serving so they don’t lose their crunch.  photo 4 (20)

Crazy Good!


Standard

Apples and Walnuts

This could just as easily be Apples and Pecans or Apples and Almonds — it does not matter which nut you use.  It’s so good!  You’re gonna make this over and over!!

Tart Granny Smith apples are the way the to go in this recipe.  They are the perfect consistency, taking on a “bready” texture when fully softened.  This can be a most fabulous thing if you are avoiding carbs/gluten/and other questionable ingredients.

So simple!  So completely perfect!

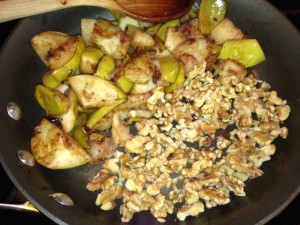
3-5 Granny Smith apples, washed, cored and rough chopped (I leave the skin on – you can peel them, especially if using non-organic apples)

photo 1 (32)

2 Tbsp coconut oil or butter (or combination of the two)

pinch of salt

1 teaspoon cinnamon

1/2 teaspoon cardamom

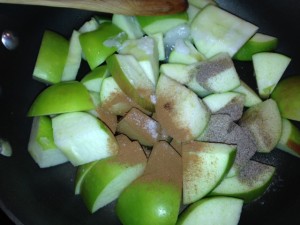
Into a medium skillet on medium-low heat, melt fat and toss in the apples.  Add spices and stir gently. photo 2 (30)

Let this go for 15-30 minutes, stirring every 5 minutes or so, depending on your preference of doneness.  The apples will break down and add their own moisture and the spices will be well incorporated at the end.  We are not looking for browning – if you are getting browning – add a little water (not much) and reduce the heat.  I like mine soft around the edges and a little al dente in the middle.  When you have reached your desired tenderness, move the apples to one side of the pan and add another tablespoon of butter.  Turn the heat up enough to get a little sizzle and add in 1 cup of chopped walnuts (or pecans or almonds).

photo 3 (23)

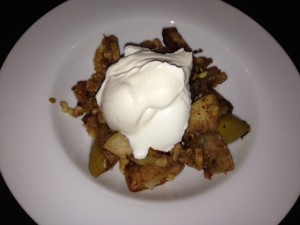
Let the nuts cook (stirring to get all sides) for a couple of minutes until they release their oils and you are done!  Gently incorporate the apples and nuts and scoop into bowls.  Top with Greek yogurt, if desired. photo 4 (18)

Standard

Salmon Tostados

Sometimes you need a quick meal – and who’s to say it can’t be delicious, too?  This one fits the bill.  I can pull this off in about 10 minutes including cooking time.  It’s made from staples we keep on hand and we ♥♥♥ it.  Enough of the buildup – let’s see it!

photo (13)

This recipe makes 2 tostados.

1 6oz can boneless, skinless canned salmon (wild caught), drained

(I get mine from Sam’s Club – it’s pictured here)  Member's Mark® Wild Caught Alaskan Pink Salmon- 6/6 oz. cans

If your protein needs are high, it’s ok to add another can – they are tiny, after all.

8-10 kalamata olives

5-6 sun-dried tomatoes in olive oil – you don’t need the liquid – just the tomatoes

1 Tbps. real mayo

1/4 tsp. fresh-ground black pepper

2 flour tortillas

1/2 cup grated cheddar cheese

1 ripe avocado

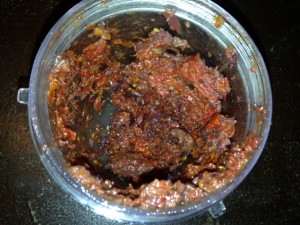
Place the olives and sun-dried tomatoes into a small food processor (I use a Bullet with the small jar attachment) and grind this into a spreadable, paste-like consistency. photo 5 (18)

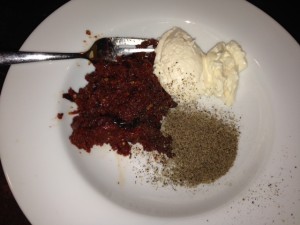
If you don’t have this kitchen appliance, just chop it up as small as you can using a knife, the flavor will be the same, just not the consistency.  Take the tomato/olive mixture and place it into a mixing bowl.  Add the mayo and freshly ground pepper.  photo 1 (30)

Mix and stir until combined.  Flake in the drained salmon.  Stir gently to just incorporate the salmon (but don’t KILL it here).

photo 3 (21)

Now we are ready to assemble the tostados.  Onto a baking sheet, place 2 tortillas side-by-side and not overlapping.  Top each with half the salmon mixture, spreading to an even layer leaving about 1/2 inch of tortilla edge.  Now add 1/4 cup cheese to each. photo 4 (17)

Slide this into an oven and turn the broiler on.  Broil for 3-5 minutes or until hot and bubbly, with some browning of the cheese and exposed tortilla.  Watch closely – it can go from “almost done” to “too done” in a hurry.photo 2 (29)

Slide each tostado onto a plate and top with 1/2 avocado.   ENJOY!  photo 3 (22)

Standard