Salmon Tostados

Sometimes you need a quick meal – and who’s to say it can’t be delicious, too?  This one fits the bill.  I can pull this off in about 10 minutes including cooking time.  It’s made from staples we keep on hand and we ♥♥♥ it.  Enough of the buildup – let’s see it!

photo (13)

This recipe makes 2 tostados.

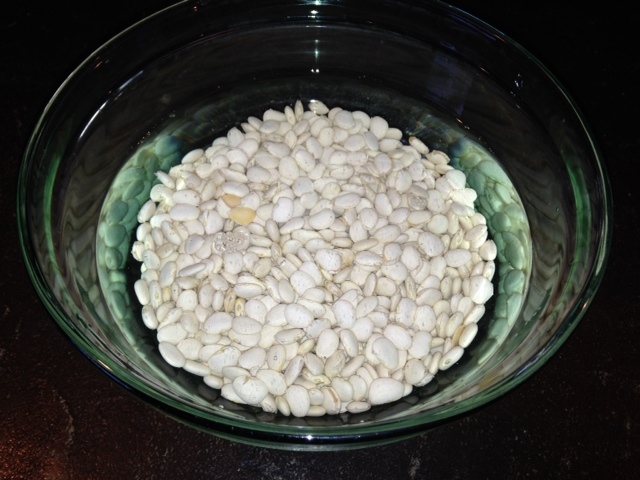
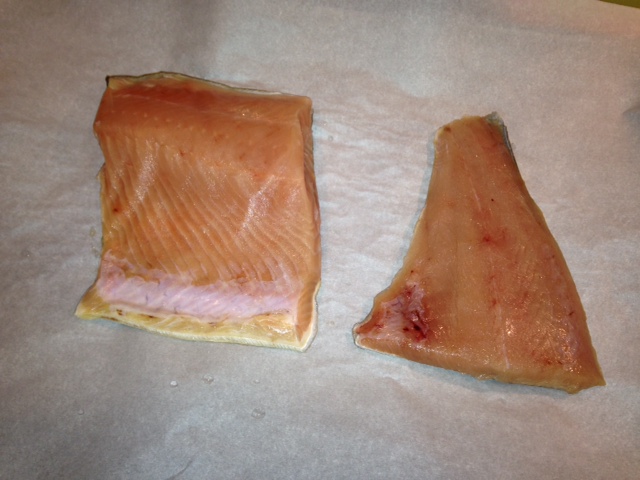
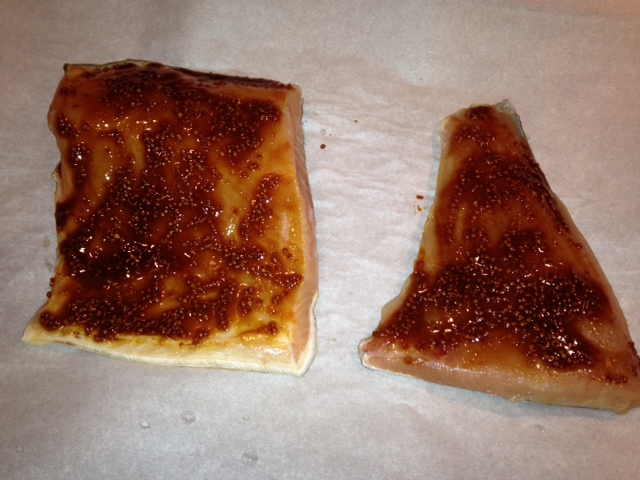
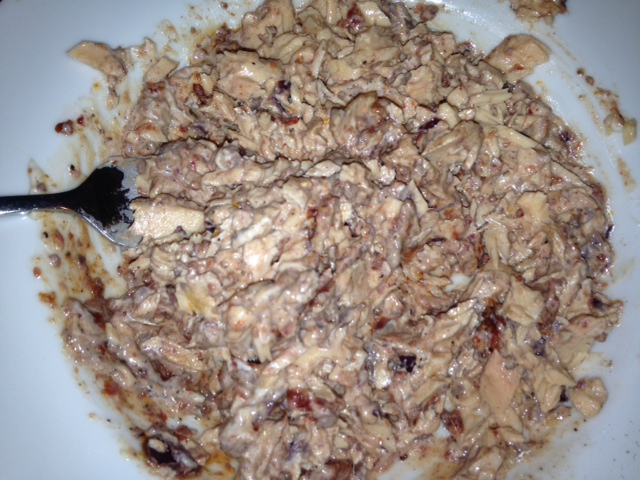
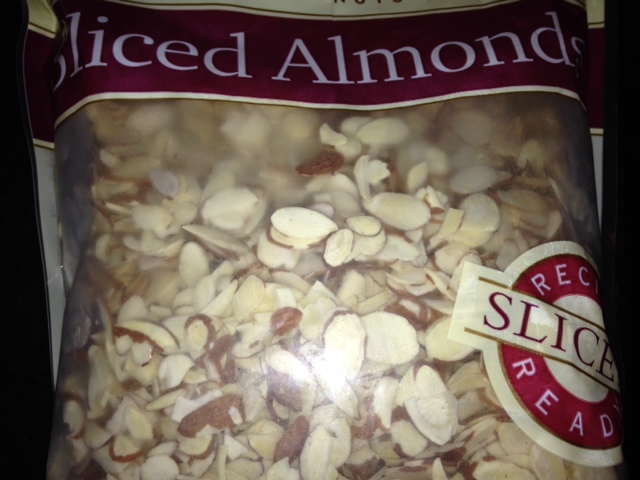
1 6oz can boneless, skinless canned salmon (wild caught), drained

(I get mine from Sam’s Club – it’s pictured here)  Member's Mark® Wild Caught Alaskan Pink Salmon- 6/6 oz. cans

If your protein needs are high, it’s ok to add another can – they are tiny, after all.

8-10 kalamata olives

5-6 sun-dried tomatoes in olive oil – you don’t need the liquid – just the tomatoes

1 Tbps. real mayo

1/4 tsp. fresh-ground black pepper
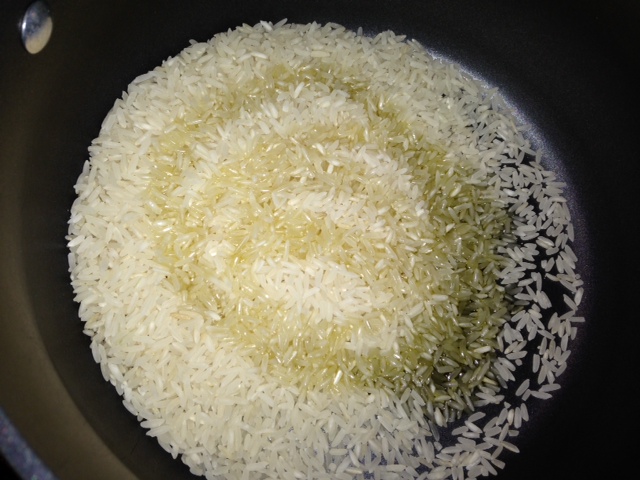
2 flour tortillas

1/2 cup grated cheddar cheese

1 ripe avocado

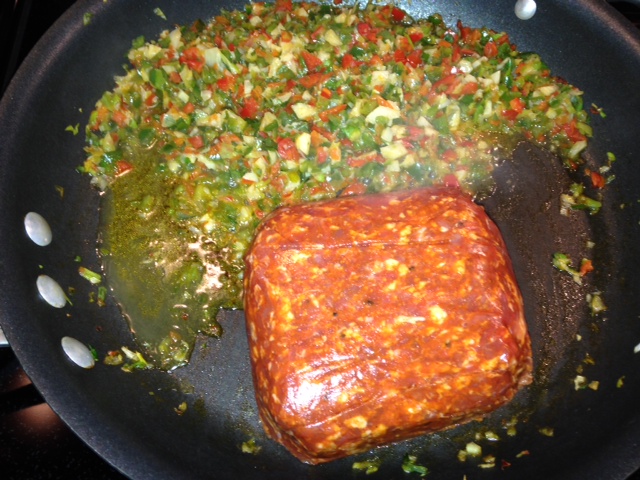
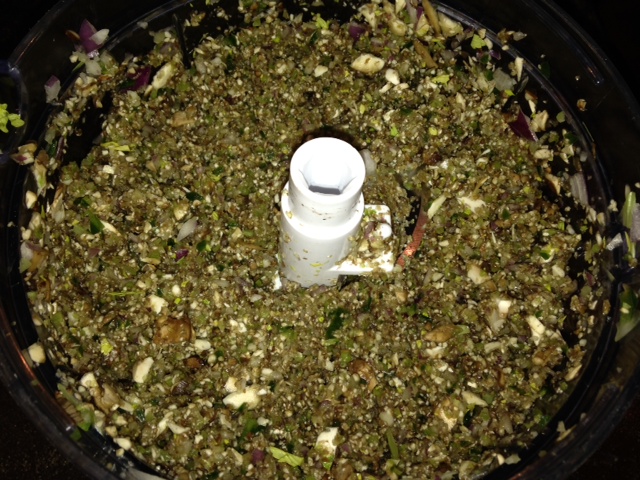
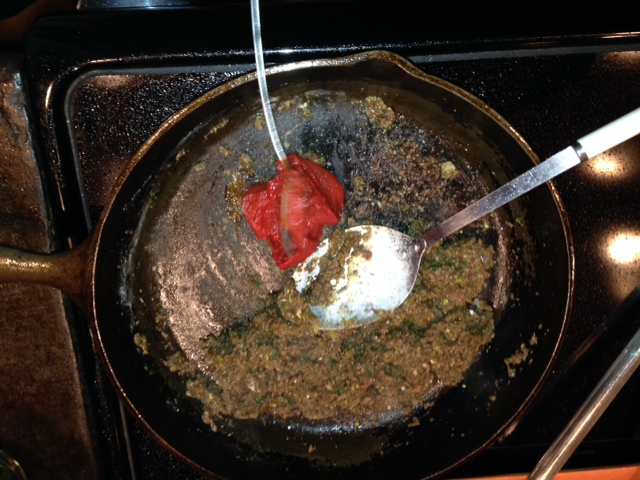
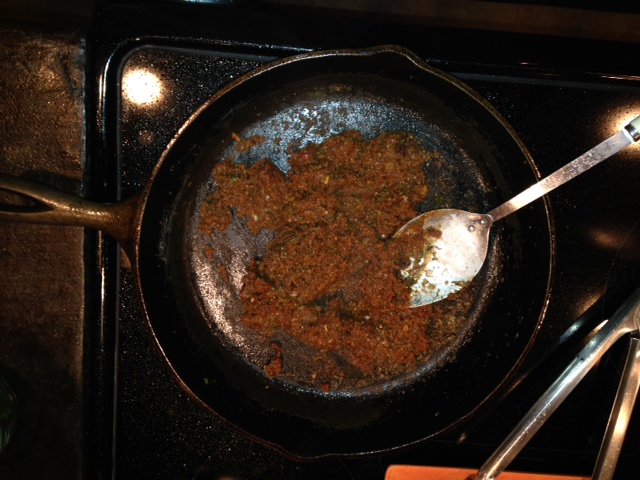
Place the olives and sun-dried tomatoes into a small food processor (I use a Bullet with the small jar attachment) and grind this into a spreadable, paste-like consistency. photo 5 (18)

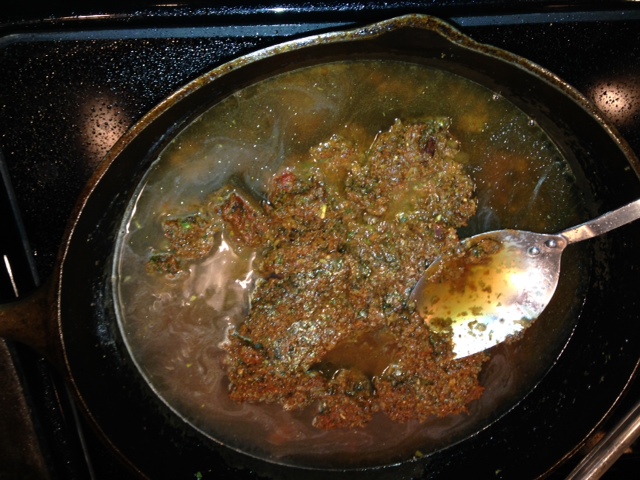
If you don’t have this kitchen appliance, just chop it up as small as you can using a knife, the flavor will be the same, just not the consistency.  Take the tomato/olive mixture and place it into a mixing bowl.  Add the mayo and freshly ground pepper.  photo 1 (30)

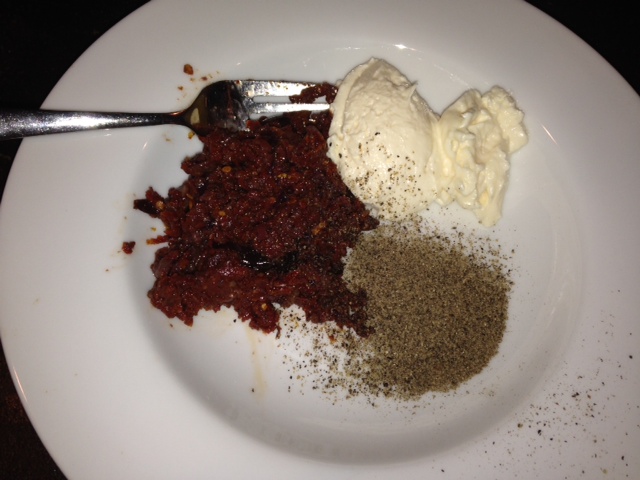
Mix and stir until combined.  Flake in the drained salmon.  Stir gently to just incorporate the salmon (but don’t KILL it here).

photo 3 (21)

Now we are ready to assemble the tostados.  Onto a baking sheet, place 2 tortillas side-by-side and not overlapping.  Top each with half the salmon mixture, spreading to an even layer leaving about 1/2 inch of tortilla edge.  Now add 1/4 cup cheese to each. photo 4 (17)

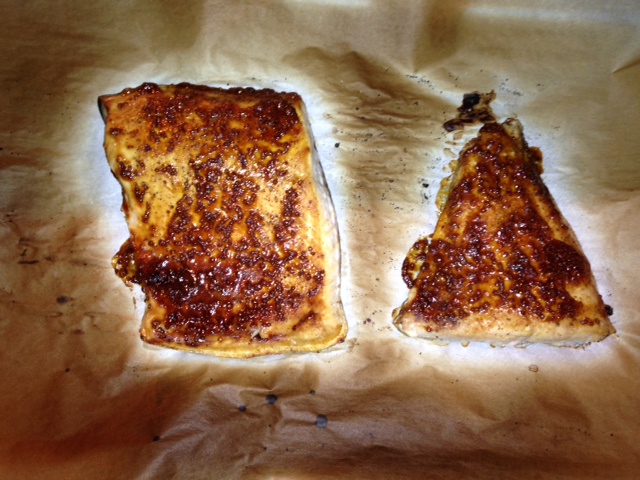
Slide this into an oven and turn the broiler on.  Broil for 3-5 minutes or until hot and bubbly, with some browning of the cheese and exposed tortilla.  Watch closely – it can go from “almost done” to “too done” in a hurry.photo 2 (29)

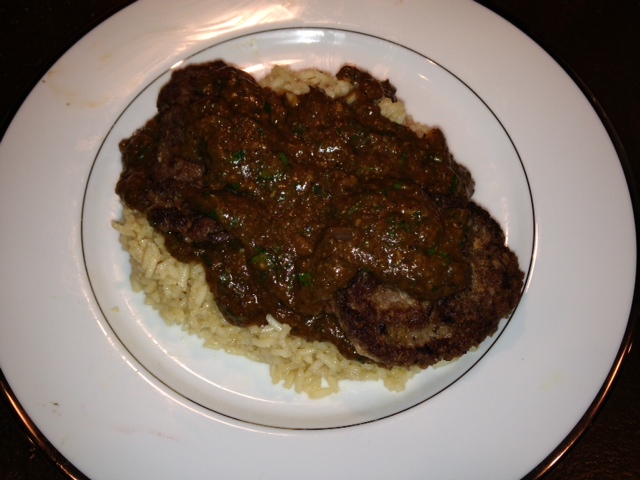
Slide each tostado onto a plate and top with 1/2 avocado.   ENJOY!  photo 3 (22)

Standard

Salmon Patties on Pink Lentils

…with a garnish of bacon and a side of oven-roasted broccolini.  Oh, my!  What are we celebrating??

photo (12)

LIFE!  And, protein!  Sometimes an ordinary day can be made special with a special meal.  This looks swanky, but is simple to make and surprisingly inexpensive.  Let’s get the lentils going and then start the salmon patties, er… “croquettes” if you want to sound fancy.

1 cup of pink lentils – sorted, debris removed – get them ready and set aside

1/2 cup chopped red onion

1/2 cup chopped sweet red pepper

Into a medium saucepan over medium heat, place the onion and red pepper.  Drizzle enough olive oil onto the veggies so they don’t stick and cook for 3-4 minutes.  Once the veggies are soft, add the pink lentils and 2 cups of chicken broth.  You may need more liquid later, but wait and see.  We want a nice, thick base for the salmon patties so the lentils do not need to be wet and soupy.  When the lentils come to a boil, reduce heat to simmer and place a lid on the pan.  Keep an eye on them, but let them go a little longer than usual – about 25 minutes.   Make sure you have enough liquid so the lentils don’t stick to the bottom.  Add either water or chicken broth, as needed, up to 1 more cup total.

For the salmon patties:

1 can salmon (15 oz), drained but not squeezed – just pour off extra liquid

1 Tbsp. spicy whole-grain mustard

3 Tbsp. minced onion

3 Tbsp. chopped fresh parsley

zest of one lemon

freshly ground black pepper

1 tsp. Old Bay seasoning

3-4 Tbsp. flour or finely ground oats – this will be more or less, depending on how much moisture is in mixture

2 eggs

Put everything except eggs into a bowl and mix together.  Add eggs and stir gently.  It should be moist and workable.  If it seems too wet, add some additional flour.  This is the most important part of making the patties.  If they are too wet, they will spread and break apart.  If they are too dry, they won’t adhere.  Once you get the salmon mixture *right*, heat a skillet to medium low.  You will need some fat (butter, olive oil, bacon drippings, coconut oil, whatEV)  Add enough fat to coat the bottom of the pan.  Using your hands and a spoon, scoop out and shape each patty, gently laying it in the hot oil.  Leave space between each, cooking 3 at a time to total 6 patties in two batches.

Hopefully, your lentils have softened up nicely in the meantime.  If they are too wet, take the lid off and let the extra liquid bubble off.  Stir and break them up to form a nice very-thick-soup-like consistency.

To serve:  spoon out about a half cup of pink lentils into a bowl.  Place 1-2 salmon patties artistically on one side.  Crumble 2 slices of  extra-crisp bacon in a small bowl and sprinkle on top.  (See: BACON post)  Place oven-roasted broccolini on the side (See:  Oven Roasted Veggies post) and you are there.


Standard

Granola

Granola is a tricky one – oh, not the recipe.  That’s just easy.  Tricky is buying granola and thinking you are getting a good, “healthy” option.   If you make it yourself, you can use quality fats, good seed & nut options and just-the-perfect-amount-of sweetness and KNOW you are getting a good, healthy option.

Start with good oats.  I LOVE Bob’s Red Mill.  I love the company.  I love the man who gave the company back to his employees for his 81st birthday.  And, they are just the best oats I have ever had.  My preference is the thick rolled oats, but the regular rolled oats are fine, as well.

4 cups thick rolled oatsphoto 1 (24)

1 cup pecans, choppedphoto 4 (15)

1 cup (or more) pumpkin seedsphoto 3 (18)

1 cup sliced almondsphoto 5 (15)

1 cup coconut chips photo 1 (25)

Place all the dry ingredients into a large baking pan.  Stir them up!

We need some wet ingredients:

1/2 cup coconut oil

1/3 cup pure maple syrup (or more, to taste)

1 tsp. molasses

1 cup very hot water

Stir until the coconut oil and maple syrup melt and combine.

To this, add:

1 tsp. cinnamon.

1/2 tsp. cardamom

and just a pinch of pink Himalayan salt

Stir it all up and you will have a dark oh-so-heavenly liquid. photo 1 (27)

Pour this into your dry granola mixture and make sure everybody gets their fair share.  Stir and stir and stir.  Now, you must taste it.   It’s the only way to test for seasonings.  Remember you will add some sweetness with dried fruit after baking, but now is the time to tweak.  I like a mildly sweet granola, so if you need more, add it now!

Pre-heat your oven to 250 degrees and slide it in there for about 45 minutes.    Stir.  Continue cooking low and slow, stirring about every 15 minutes for another 45 minutes or until the granola is browned and dry.  As it gets closer to done, you may want to reduce your time between stir/checks to 5 minutes.  It will get perfect FAST.   One of my saddest days (in the kitchen) was getting impatient and turning on the broiler to speed up the browning process.  We couldn’t save it.  Burned granola… what a waste!  You will be rewarded for your patience!  Ah!  photo 2 (26) Now, if you are adding dried fruit, stir it in.  I used dried cranberries, about 1/2 cup.  You can really add any dried fruit, in any amount.  Mix it in, go crazy!  photo 3 (20)

Once your granola is completely cooled, store it in airtight containers.  Give some away, freeze extra.  You’ll be so glad you did!

photo 5 (16)

NOTE:  You can use any nut, seed or dried fruit.  If you like a nuttier granola – add more nuts.  Prefer a more oat-filled granola?   Up the rolled oats.  I usually add a little fresh grated nutmeg and it’s lovely in this recipe.  Follow your own likes and use what you have on hand.  I have 4 pecan trees so I always have pecans, but you can use walnuts or whatever you prefer!  It’s going to be granola-licious!


Standard

Baby Lima Bean and Chorizo Casserole

photo 1 (23)

ok – I’ll admit this one seems a bit weird.  It came about years ago and has evolved into its current and *most delicious* incarnation.  I think of this as a spicy white-bean-dip-you-can-eat-for-supper.  And, it’s pretty perfect for these really cold nights.  We will get back to salads and lighter fare once the weather warms up past freezing!

To begin, sort and rinse 1lb of baby lima beans.  Soak for 6 hours (or overnight). photo (10)

Drain.  Place beans into a sauce pan and cover with water.  Bring to boil, reduce to simmer and allow to cook until tender, about 2 hours.  You can cook the beans a day or two before you put this together, if you prefer.  Once the beans are tender, add 1tsp. Celtic or Himalayan pink salt.  Please use good salt – that white, bleached stuff has been stripped of micronutrients and is nothing but trouble!

When you are ready to assemble, sauté your veggies.  I used: photo 1 (22)

1 Poblano pepper, chopped

1 bunch green onions, chopped

1 sweet red pepper, chopped

3-4 cloves garlic, mincedphoto 2 (24)

Place the chopped aromatics into a large skillet on medium heat.  Add 1 Tbsp of fat (going with the pork theme, I used bacon drippings).  Cook til tender, about 5-7 minutes.  Slide the veggies to one side of the pan and add 1lb chorizo.   photo 3 (17)

Brown and break up the chorizo, mixing with veggies as you go. photo 4 (14)

By now, the baby lima beans are tender and mushable.  I like them to be about the texture of refried beans.  One thing that’s helpful is to cook them in just enough water to do the job – then, you don’t have to drain and the starchy liquid left in the beans helps to pull it all together. It’s going to work, either way!

Once the meat is done (no pink remaining), add the baby lima beans to the skillet.  If your beans are wet and soupy, drain them first.  Be sure to reserve some of the starchy cooking liquid in case you need to add a little liquid back.

Pre-heat the oven to 375 degrees.  Dig out your favorite casserole pan (9×13 or a round one deep enough to hold everything).  Add the cooked beans to the skillet and stir well.  Taste it and correct any seasoning issues.  Now, carefully pour the chorizo/bean/veggie mixture into the casserole pan, adding in a handful of grated cheddar cheese.  photo 5 (14)

If it seems too wet, bake uncovered.  If you feel like the moisture level is right, cover with foil.

Bake for 30 minutes or until it’s all bubbly and the eaters start to assemble.  Serve with a big chopped salad and lots of fresh toppings and tortilla chips for scooping.  We had:

diced avocado

finely diced red pepper

finely chopped red onion

sour cream

and I WISH I’d had some cilantro – would’ve been even better!

Seriously GOOD eating.

Standard

Spinach Salad

photo (9)

Often, in this life, it’s all about the simple things.  Spinach salad is one of those lovely, simple things.  There are a zillion different versions out there, but this basic one can get you started.

2 cups washed baby spinach

8-10 bite-sized mozzarella balls

2 Tbsp. pomegranate arils

drizzle of olive oil

drizzle of balsamic vinegar

salt & pepper to taste

I found these in the grocery store and was thrilled to find arils without the work!  Try them.  You can eat the whole thing AND they’re completely delicious.

pom arils

Yes… we eat salads, too!

Standard

Jaeger Schnitzel

photo (8)

Pronounced  “Yeager” (like Chuck Yeager), Jaeger Schnitzel is a hearty and deliciously decadent meal.  It was a birthday request from my honey and I was happy to make one of his all-time favorites.  He ordered Jaeger Schnitzel many years ago in German restaurant and was blown away.  This is my take on that experience with apologies in advance to any deviations from authentic German recipes.

1 lb venison cutlets (pork, beef, chicken or turkey are all acceptable substitutes)

2/3 cup all purpose flour, in a bowl seasoned with:  1 teaspoon salt, 1 teaspoon black pepper, 1 teaspoon garlic powder and 1 teaspoon Chipotle chili powderphoto 1 (18)

Stir the seasonings into the flour and lightly coat each piece of venison.  photo 4 (11) I will mention this is not “breading”,  just a light coating of seasoned flour that sticks to the natural moisture in the cutlets.  Heat up a medium skillet and add 3 Tbsp. fat.

I used Spectrum shortening.  images

It’s organic and performs nicely in high heat.  You can find this at most health food stores and larger grocery stores.  Once the pan is hot, gently place the cutlets in the pan being careful to avoid crowding.  photo 1 (19)

Once you’ve got the meat going, prepare your veggies for the mushroom sauce:  photo 2 (20)

5 baby portabella mushrooms

1/2 red onion

2 sticks celery

1/2 poblano pepper

3 cloves garlic

In a food processor, finely mince all the veggies, scraping down the sides as needed.   It should look about like this when the veggies are ready to go.

photo 3 (15) I ♥♥♥ a soffritto!  It allows me to sneak in lots of extra veggies!

Back to the browning cutlets ~ cook the meat in batches, adding additional fat if needed.  Usually 3-5 minutes on the first side then 2-3 minutes on the second side.  You’ll know when it’s done.  Then, place the meat in a 200 degree oven on a baking sheet to hold warm while you make the sauce.

Use the same skillet in which you cooked the cutlets, removing any really dark or burned bits.  Spoon your soffritto veggies into the pan and begin stirring.  The moisture from the soffritto will begin “pull up” the crazy flavor from the pan.  This is a good thing.  Cook and stir the soffritto for 5-7 minutes, scraping up the deliciousness from the bottom of the pan.  I added a little more fat here to loosen things up.  photo 5 (12)


It’s also around this time you will need to start the rice.  I like organic basmati.  Place 1 cup rice in a pan and turn on the heat to medium high.

Give the rice a swirl of olive oil.  photo (7) Let the rice heat up and stir it to coat each grain with the oil.

Once it begins to smell slightly toasted but *BEFORE* the rice begins to brown, add 2 cups of beef broth.  photo 1 (20)

Place the lid on pan, reduce the heat to simmer and let it go for about 20 minutes… plenty of time to finish the sauce.

And, back to the soffritto!  Add about 1.5 Tbsp. of tomato paste.  photo 5 (13) Stir the tomato paste to incorporate.  It will need a couple of minutes to come together just so.  Then, you add the rest of the seasoned flour (left0ver from coating the cutlets).

Let it cook for 2-3 minutes.  It’s going to become thick and gloopy.  Don’t worry!

You just want to cook the flour and it’s all going great!  photo 1 (21)

Now, add about 2 cups of beef broth.  Stir and stir and stir.  Mash out any lumps.  I keep my heat medium low and it’s really forgiving here.photo 4 (12)

If you are cooking too hot and fast, panic can set in.  Just be mellow, keep stirring and it will come together.  In a few minutes, it will all get friendly and you have tomato-spiked mushroom gravy!  To this, add a big handful of chopped parsley.  photo 4 (13)

Plate it up and go to town!  Ich liebe es!photo (8)


Standard

Broiled Salmon Fillet

photo 2 (19)

How have I not posted about salmon before?  It’s a definite favorite.  My Dad spent a summer working on a fishing boat in Alaska and we got hooked (sorry!) off his surplus of line-caught salmon.   The secret for perfectly cooked fish is having it completely thawed before it goes into the oven and not overcooking.  TIME in the heat is the process that develops the “fishiness factor” so, cook it fast and hot.  Pre-heat your oven to 400 degrees, lay the fillet on parchment paper (skin-side down) and prepare the glaze.

photo 3 (13)photo 1 (17)photo 2 (18)

In a small bowl mix:

1 Tbsp. spicy, whole-grain mustard

1 Tbsp. molasses

Stir together and smear over the top of the salmon.  Season with a nice sprinkling of salt and freshly ground pepper.photo 4 (10)

Place your pan into the oven on a middle rack and turn the broiler on.   Allow to broil for 5-7 minutes, depending on the thickness of the fillet.  Turn the pan around for even browning and watch closely.  You want color and sizzle but not blackening.  Ideally, there’s some degree of gradation toward the middle of the salmon but it takes a bit of finesse to pull this off.  It’s gonna be delicious, either way!    Oh, the tender flesh, the sweet from the molasses and the spiciness of the mustard!  Bliss, pure bliss.photo 5 (11)

This recipe is so simple and delightful I hope you will try it – even if you “think you don’t like fish”.photo 3 (14)

Standard

Razzle Dazzle

I gave up soda years ago.  Caffeine makes me jumpy.  Yet, who doesn’t *want* a little something tasty to sip in the afternoon?  My solution:  I came with up something delicious and refreshing out of fresh, healthful ingredients so I didn’t want or miss the sugar/acidic/bad-for-you gunk I used to drink before I gave a rip about my health.  You can make this in less than 3 minutes.  Try it!!

photo 1 (16)

1 fresh lemon

1 fresh lime

2 fresh clementines (like Cuties or whatever is in season).

photo 2 (17)

Cut citrus fruits in half and squeeze into a quart jar. photo 3 (12)photo 4 (9)

Fill with fresh, filtered water.  If you prefer a sweetened drink, add stevia or raw sugar to taste.  Drink over ice or at room temp.  Completely lovely.  Even lovelier if you have a sprig of fresh mint.photo (6)

NOTE:  I did not come up with the name for this.  That honor goes to a dear friend of mine.  Her son had moved home for a time and she made this for him.  When he’d ask for it, he’d say “Mom, could we make some Razzle Dazzle?”  Thank you, Jonas.  I believe we can!

Standard

Chicken Pot Pie

IMG_0806

It’s COLD!  And, when it’s really cold, sometimes you just need some real, comforting home food to warm you up from the inside out.  We only make this dish about once a year, but my husband has been campaigning for it lately.  He makes the crust and I make the filling.  Can’t ask for a better deal!

To begin:  stew a chicken

I do this in the slow cooker.  In the morning, I place 1/4 onion, 3 cloves garlic, 1/2 lemon and 1 cup filtered water in the slow cooker.  Add a rinsed, clean chicken.  Salt and pepper go on top.  Place the lid on tightly, turn the heat to high and let it go.  In the afternoon, skin and bone the chicken.  Filter the veggies out of the cooking liquid and keep the broth!  You won’t use it all in this dish but, it will be fantastic in soup or any recipe calling for chicken broth.

Once the chicken meat is set aside, begin preparing the filling.  OH MY GOSH!  You’re going to need a crust.  See?  That’s where teamwork comes in.  My hubby makes the holiday pies and any pie crusting that goes on comes from him.  Here’s an excellent resource on the process he uses and the recipe he uses from Cooks Illustrated:

http://food52.com/recipes/24966-cook-s-illustrated-foolproof-pie-crust

NOTE: This recipe makes 1 crust – for a double crust, double the recipe.  You will need to double for chicken pot pie.

It’s now the only pie crust he makes.  Perfect for sweet or savory dishes.  So, get *someone* to do the crust and give it time to chill for a couple of hours in the fridge before assembly.

Back to the filling:

6-7 white, button mushrooms, diced small

1 cup thin sliced celery

1 cup carrot “squares”  – he who makes the crust insists they must be squares like the bought ones he *used* to eat – suit yourself and your eaters

Now, this is chicken pot pie.  Use rendered chicken fat if you have it.  Don’t skimp!  I use about 2 Tbsp.  Heat the pan, add the fat, S&P and cook all the veggies til tender.  It will take 10-15 minutes on medium low heat.  They don’t need to brown and they should not be crunchy in this dish.  Once the veggies are perfect, make a roux.  To the tender veggies, add 2 Tbsp. flour.  Cook and stir for 1-2 minutes.  Then, using your saved chicken broth (about 1 cup) turn the filling into pure decadence.  Stir to combat lumpage!  Add in about 1 1/2 cups chopped chicken.  Stir to combine and let the whole mess of loveliness come to simmer.  Now, add in 3/4 cup frozen peas.  Turn the heat off and spoon in 1/2 cup full fat plain Greek yogurt.  Taste it.  Oh yeah.  Correct seasonings, if needed.

Roll out the bottom crust and place into pie pan.  Pour in the filling.  Top with remaining crust, cutting some vent holes.  Into a 425 degree preheated oven it goes!  Let it cook for about 10 minutes then lower the heat in the oven to 400 and cook another 30 minutes or until beautifully golden.  Now, here’s the hard part, it should set for about 10 minutes before you slice into it.  If you can hold off, good for you!  It will pull up all the liquids and make perfect slices.  Either way, enjoy!   IMG_0808

We certainly did!  :0

As you can see, we only have finish pics of this dish.  I’ll do better next time!


Standard